
In this step-by-step guide, we will show you how to effectively protect your hair from heat damage using a hooded dryer. By following these simple instructions and tips, you can enjoy heat styling without compromising the health of your hair.
Get salon-quality results at home


1. Prepare your hair
To start preparing your hair, wash it with a moisturizing shampoo and conditioner. Gently towel dry your hair, avoiding any rough movements that could lead to breakage. Next, apply a heat protectant product evenly throughout your hair. This will create a barrier between the heat and your strands, helping to prevent damage.
Once you’ve washed your hair, apply a moisturizing shampoo and conditioner to keep it hydrated. Use a gentle touch when towel drying your hair, being careful not to roughen up the strands and cause breakage. After drying, take a heat protectant product and apply it evenly throughout your hair. This will help shield your hair from the damaging effects of heat, creating a protective barrier between the heat and your strands.


2. Adjust the hooded dryer
Position the hooded dryer:
- Find a comfortable spot to place the hooded dryer, ensuring it is at a suitable height for you to sit comfortably underneath. A sturdy table or chair should work well.
- Adjust the height of the dryer so that the hood is directly above your head, allowing for even airflow and maximum effectiveness. Make sure the hood is at a distance that covers your entire head without causing any discomfort.
Adjust the temperature and speed settings:
- Begin by turning on the hooded dryer and locate the temperature and speed controls, usually located on the front or side of the device.
- Identify your hair type – whether it’s fine, normal, or thick – and consult the dryer’s instructions to determine the recommended temperature settings.
- Start with lower heat settings and a gentle airflow. This way, you can gradually increase the heat and speed if necessary, avoiding any potential hair damage.
- Adjust the temperature control to a level that feels comfortable on your scalp, ensuring it is not too hot or too cold for your preference.
- Similarly, adjust the speed settings to a level that provides the desired airflow to dry your hair efficiently.
- Give yourself a few minutes to acclimate to the heat and airflow before making any further adjustments.
By following these simple instructions, you can ensure a comfortable and effective experience while using a hooded dryer.
3. Section your hair
To properly section your hair, begin by gathering clips or hair ties. Divide your hair into manageable sections. For example, separate the bottom layer from the rest of your hair and secure it with a clip or hair tie. This will make it easier to work through your hair and ensure that all sections are evenly dried and receive sufficient heat. Move on to the next section, taking about an inch or two wide strips of hair and clipping or tying them up. Repeat this process, working your way up to the top, until your entire head of hair is divided into sections.
Remember, the goal is to create sections that you can easily handle and control, allowing for effective styling or drying. By sectioning your hair, you will have more control over the process. For example, if you’re blow-drying your hair, focus on one section at a time, making sure to dry each section thoroughly before moving on to the next. This method also applies to using heated styling tools like straighteners or curling irons. Taking your time and working through each section ensures consistent results and reduces the risk of overexposing some parts of your hair to too much heat while neglecting others. So, take a moment to divide your hair into manageable sections using clips or hair ties for best results.
4. Sit under the hooded dryer
Carefully lower your body onto the chair under the hooded dryer. Take a seat and adjust yourself to ensure comfort and stability. Once you are situated, reach up and firmly secure the hood in place by fastening the adjustable strap or tightening the clamps. This is important as it ensures that the hood stays in position throughout the drying process without causing any discomfort.
Next, make sure that your hair is not touching the heating element of the hooded dryer. Gently tuck your hair away from the edges of the hood, creating a safe distance between your hair and the direct heat source. Avoiding direct heat exposure is essential to prevent any potential damage to your hair strands.
Once you are comfortably settled and your hair is away from the heating element, it’s time to relax and let the hooded dryer do its magic. Refer to the instructions provided by the dryer’s manufacturer to determine the recommended drying time. Sit back and enjoy this moment of self-care while the warm air circulates around your hair, ensuring even drying from roots to tips. You can take this opportunity to read a book, listen to soothing music, or catch up on your favorite TV show.
Remember, the key to achieving the desired results is to follow these guidelines and allow the hooded dryer to work its wonders for the recommended duration. By sitting under the hooded dryer and securing the hood in place, you can enjoy a hassle-free and effective drying session that leaves your hair looking fabulous.
5. Finish and protect
Once the drying time is over, turn off the hooded dryer and wait for it to cool down before removing the hood. This step is important to ensure your safety and prevent any accidental burns. Once the hooded dryer is cool, gently remove the hood and set it aside.
Next, take a moment to style your hair as desired. Use your fingers or a brush to gently finger comb or brush your hair, shaping it the way you prefer. Take your time and be gentle to avoid causing any damage or frizz.
After styling, it’s essential to protect your hair from any remaining heat and add moisture. Apply a leave-in conditioner or serum to your hair. This will help to create a barrier between your hair and any potential heat damage, as well as provide much-needed moisture to keep your hair soft and nourished.
Remember, caring for your hair is important to maintain its health and appearance. By following these simple steps, you can finish and protect your hair effectively, leaving it looking and feeling its best.
Wrap up with these tips
In conclusion, taking the necessary precautions and implementing the tips mentioned in this blog post can greatly minimize the heat damage caused to your hair when using a hooded dryer. It is essential to prioritize the health of your hair by using a heat protectant, adjusting the dryer settings, and allowing ample time for your hair to dry naturally. By doing so, you can enjoy beautiful, heat-styled locks while ensuring the well-being of your precious strands. Remember, your hair deserves gentle care and attention, and your efforts will be reflected in its overall health and appearance.
Essential Items Needed
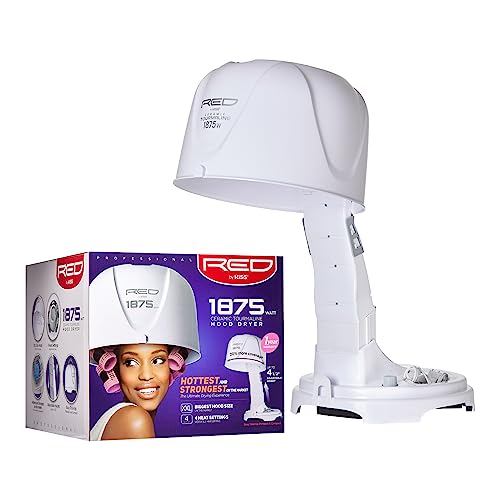
- Hooded dryer
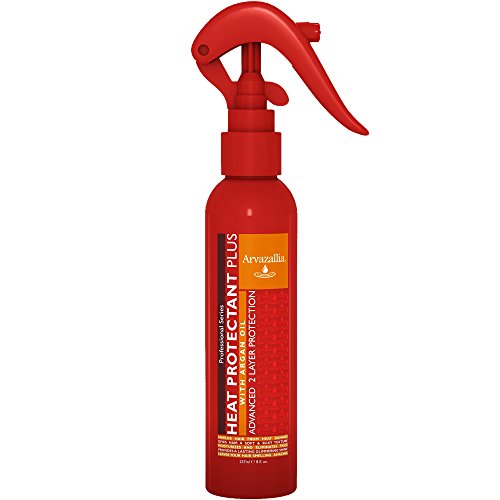
- Heat protectant spray
- Wide-tooth comb
- Hair clips or hair ties
- Hair conditioner
- Plastic shower cap
- Towel


Expert Advice
- Use a heat protectant spray or serum before drying your hair with a hooded dryer. This helps create a barrier between your hair strands and the heat, reducing the risk of damage
- Adjust the heat setting of your hooded dryer to a moderate or low temperature. High heat can be extremely damaging to your hair, so it’s better to start with a lower setting and gradually increase if needed
- Avoid using the hooded dryer for an extended period of time. Prolonged exposure to heat can cause excessive dryness and breakage. Follow the manufacturer’s instructions for recommended drying time or keep it within 30 minutes to protect your hair from damage
- Keep a safe distance between your hair and the hooded dryer. Placing your hair too close to the heat source can result in singed or frizzy ends. Aim for a distance of about 6-8 inches to ensure even drying and minimize potential damage
- Take breaks during the drying process. Periodically removing your hair from the hooded dryer allows it to cool down and reduces the overall exposure to heat. This helps prevent overheating and potential damage
- Avoid using metal clips or accessories while drying your hair with a hooded dryer. Metal can heat up quickly and cause burns or damage to your hair. Instead, opt for plastic or non-metallic clips to secure your hair in place
- Use a wide-toothed comb or a brush with flexible bristles to gently detangle your hair before drying. This can prevent excessive pulling or breakage that can occur when hair is tangled
- Keep your hair well-moisturized by using a deep conditioner or leave-in conditioner before and after using the hooded dryer. Moisturized hair is more resistant to heat damage and retains its natural moisture
- Limit the frequency of using the hooded dryer. Excessive heat styling can gradually wear down the health of your hair. Try to alternate between air-drying and using a hooded dryer to minimize heat damage
- Consult a professional hairstylist or trichologist for personalized advice. If you frequently use a hooded dryer or have concerns about heat damage, seeking professional guidance can help you understand your hair’s unique needs and how to protect it best
Step-by-Step Guide on Using Your Hooded Dryer
- Start by plugging in the hooded dryer and ensure it is placed on a stable surface away from water sources
- Adjust the height of the hooded dryer to ensure it comfortably fits over your head without any discomfort or touching your scalp
- Before using the dryer, make sure your hair is clean and damp. You can either wash it or mist it with water
- Apply a heat protectant spray or serum to your hair to minimize heat damage
- Section your hair into manageable sections using clips or hair ties. This will allow the heat to evenly penetrate each section for efficient drying
- Sit under the hooded dryer and turn it on to your desired heat setting. It’s recommended to start with a lower temperature and gradually increase it if needed
- Keep the hooded dryer on for the recommended time as mentioned in the manufacturer’s instructions or until your hair is completely dry
- Take breaks as needed and avoid leaving the dryer on for extended periods of time to prevent overheating or damage to your hair
- Once your hair is dry, turn off the hooded dryer and unplug it. Allow it to cool down before storing it away
- Finally, style your hair as desired or allow it to cool down before removing any clips or hair ties
- Remember to prioritize the health and safety of your hair while using the hooded dryer. If you are unsure about any step or have concerns, it’s best to consult a professional hairstylist
Frequently Asked Questions about Hooded Dryers: All your concerns addressed with care
Are there any alternatives to a hooded dryer for achieving similar results?
Yes, there are alternatives to a hooded dryer that can help you achieve similar results. Here are a few options:
- Diffuser Attachment: If you have a hairdryer, you can attach a diffuser to it. A diffuser helps distribute the airflow evenly, reducing frizz and enhancing natural curls or waves.
- Air-drying: Allowing your hair to air-dry is a gentle alternative to using heat. After washing your hair, gently pat it dry with a towel, and let it air-dry naturally. You can enhance the drying process by scrunching your hair or using styling products to achieve desired results.
- Bonnet Attachments: Similar to hooded dryers, bonnet attachments can be connected to a regular hairdryer. These attach directly to your head, delivering heat evenly to your hair. They are more portable and allow greater flexibility in movement compared to traditional hooded dryers.
- Roller Sets: Using rollers or Velcro pads can help you achieve voluminous curls or straightened hair without heat. Simply set your damp hair in rollers and allow it to dry naturally or overnight.
10 comments
This guide was really helpful! I would love to see a future article about different types of hooded dryers and how to choose the right one for your hair type. There are so many options out there and it can be overwhelming to decide which one to invest in.
Thank you for the suggestion! We’ll definitely consider writing an article about different types of hooded dryers and how to choose the right one for specific hair types. It’s important to find the best fit for individual needs.
I’ve been using a hooded dryer for a while now and it has made a huge difference in protecting my hair from heat damage. One tip I have is to always use a heat protectant spray before sitting under the dryer. It adds an extra layer of protection and keeps my hair moisturized.
I have shorter hair, so I adapted the steps a bit. Instead of sectioning my hair, I used a hair clip to secure my bangs and focused the dryer only on the back and sides. It worked like a charm!
That’s a great adaptation for shorter hair! It’s important to modify the steps to suit your specific needs. We’re glad that the modified steps worked well for you and that you achieved great results.
Thank you for sharing your tip! Using a heat protectant spray is definitely a great way to further protect your hair from heat damage. It’s important to keep our hair moisturized and nourished.
When using a hooded dryer, it’s important to keep an eye on the temperature. Some dryers can get really hot, so it’s best to start with a lower heat setting and gradually increase if needed. Safety first!
Absolutely, safety should always be a priority! Thank you for emphasizing the importance of monitoring the temperature when using a hooded dryer. Starting with a lower heat setting and adjusting as required is a smart approach.
I followed the steps in this guide and my hair turned out amazing! I’ve always struggled with keeping my curls intact after using heat, but sitting under the hooded dryer really helped. This guide was a game-changer for me!
That’s fantastic to hear! We’re glad that the guide helped you achieve amazing results with your curls. Using a hooded dryer can really make a difference in preserving the integrity of your hair.