
Welcome to the step-by-step guide on troubleshooting common issues with lotion bar making. This guide aims to help you overcome any problems you may encounter while making lotion bars, ensuring that your experience is successful and stress-free. Whether you’re a beginner or a seasoned DIY enthusiast, this guide is here to provide you with the knowledge and solutions to common issues that may arise during the process. So, let’s dive in and troubleshoot those lotion bar making problems together!
Nourish and Pamper Your Skin


1. Gather the necessary ingredients and tools
Make sure you have all the necessary ingredients before you start making lotion bars. You will need beeswax, carrier oils, and essential oils for added fragrance. Gather the required tools as well, including a double boiler for melting the wax, a heat-resistant container to hold the mixture, a whisk for stirring, and molds for shaping the bars. Double-check that you have everything before beginning the process to ensure a smooth and successful lotion bar making experience.


2. Melt the beeswax and carrier oils
To melt the beeswax and carrier oils, firstly, fill the bottom of a double boiler with water and heat it until simmering. Place the top portion of the double boiler on top and add the beeswax and carrier oils into it. Stir occasionally as they melt, ensuring an even consistency. Keep the mixture on low heat until it is completely liquefied.
3. Add the desired essential oils
Once the beeswax and carrier oils are melted, follow these steps to add the desired essential oils:
- Remove the mixture from heat and place it on a heat-resistant surface.
- Carefully choose the essential oils you desire, considering the benefits and aroma you want to achieve.
- Start by adding a small amount of essential oil, around 10-15 drops.
- Mix well using a spoon or whisk to ensure the fragrance is evenly distributed throughout the mixture.
- Take a sniff to check if the scent is to your liking. If not, you can add a few more drops of essential oil until you reach the desired aroma.
- Remember to stir continuously to prevent the essential oils from settling at the bottom.
- After mixing thoroughly, your desired essential oils should be successfully incorporated into the beeswax and carrier oil mixture.
These steps will ensure that your DIY product has the perfect fragrance and therapeutic benefits that you desire. Enjoy the process of creating a personalized scent that suits your preference.
4. Pour the mixture into molds
- Gently pour the melted mixture into the molds, taking care not to spill or overflow.
- Make sure the molds are filled to the desired level, leaving a little room at the top for expansion.
- Experiment with different mold shapes and sizes to add variety and create unique designs.
- Allow the mixture to cool and set in the molds before removing and enjoying your homemade creations.
5. Allow the lotion bars to cool and harden
After filling the molds with the lotion mixture, it’s important to leave them undisturbed for several hours to allow the bars to cool and harden fully. For a quicker process, you can place the molds in the refrigerator. Be patient and ensure the lotion bars are completely cool and firm before removing them from the molds.
6. Remove the lotion bars from the molds
To remove the lotion bars from the molds:
- Gently tap the molds to loosen the bars.
- Use your fingers to carefully pop the bars out of the molds.
- If the bars are stubborn and won’t come out easily, place the molds in warm water for a few seconds.
- Once the bars have been released, remove them from the water and dry them off before using or storing them.
7. Inspect the texture and consistency
To inspect the texture and consistency of the lotion bars, follow these steps:
- Carefully examine the lotion bars for any irregularities in texture or consistency.
- Look for cracks, air bubbles, or uneven surfaces that may affect their performance.
- Run your fingers over the bars to feel for any roughness or inconsistencies.
- Pay attention to any changes in color or scent, as this may also indicate a problem.
- If you notice any issues with the texture or consistency, consider contacting the manufacturer for further assistance.
8. Troubleshoot common issues
If you encounter bars that are too soft, try increasing the amount of binding agent, such as honey or melted coconut oil, in your recipe. For bars that are too hard, consider adding more liquid ingredients or reducing the amount of dry ingredients in your mixture. If your bars have an unpleasant odor, try adding flavorful ingredients like spices or extracts to mask the smell.
9. Store and use your lotion bars
- Storage:
- Store your lotion bars in a cool, dry place.
- Keep them away from direct sunlight or extreme temperatures.
- Examples: Store them in a linen closet, bathroom cabinet, or dresser drawer.
- Usage:
- Rub the lotion bar between your hands until it begins to melt.
- Alternatively, directly rub the bar onto your skin to melt a small amount of the lotion.
- Examples: Rub the bar between your palms for a few seconds until a thin layer of lotion is formed. Or, glide the bar gently over your arms and legs to apply a smooth layer of moisturizing lotion.
- Enjoy:
- Once the lotion is melted, apply it to your skin and gently massage until fully absorbed.
- Reapply as necessary for continuous moisturizing.
- Examples: Massage the lotion into your hands, elbows, knees, or any dry areas that need extra hydration. Reapply after washing your hands or when your skin feels dry.
Remember, storing your lotion bars properly and using them correctly will help you enjoy the moisturizing benefits for a longer time.
Final Thoughts and Takeaways
In conclusion, troubleshooting common issues when making lotion bars is crucial for achieving successful results. This guide has highlighted various steps to help you overcome potential challenges. By understanding the importance of temperature control, ingredient ratios, and proper mixing techniques, you’ll be able to create wonderful lotion bars every time. Remember, practice makes perfect, so don’t be discouraged if you encounter hiccups along the way. With careful troubleshooting, you’ll soon master the art of lotion bar making and enjoy the countless benefits they offer. Happy crafting!
Essential Supplies
- Beeswax
- Carrier oils
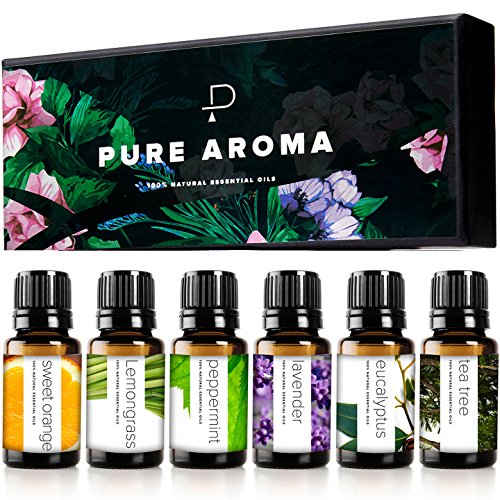
- Essential oils
- Molds
- Heat source (e.g. stove or microwave)
- Double boiler or heat-safe bowl
- Stirring utensil (e.g. spatula or whisk)
- Measuring cups or scale
- Thermometer (optional)
- Knife or scraper (for removing lotion bars from molds)
- Storage container for lotion bars


Solutions at Your Fingertips
- Check your ingredients: Ensure that you are using high-quality ingredients that are suitable for lotion bar making
- Measure correctly: Accurate measurements of your ingredients are crucial to achieve the desired consistency and texture of your lotion bars
- Heat gently: Be mindful of the temperature when melting your ingredients. High heat can cause the oils and butters to burn or lose their beneficial properties
- Stir thoroughly: To ensure even distribution of ingredients, stir your mixture thoroughly while it’s melting and during the cooling process
- Consider the climate: Keep in mind that different climates can affect the texture of lotion bars. Adjust the recipe accordingly to achieve the desired consistency in different weather conditions
- Customize your recipe: Experiment with different oils, butters, and essential oils to find the combination that works best for your skin type and preferences
- Use clean equipment: Make sure all your utensils and equipment are clean and dry to avoid any contamination that may affect the quality of your lotion bars
- Allow proper cooling time: Patience is key. Allow enough time for your lotion bars to cool and harden completely before using or packaging them
- Store properly: Store your lotion bars in a cool and dry place, away from direct sunlight, to prevent them from melting or losing their shape
- Seek help if needed: If you are experiencing consistent issues with your lotion bar making, reach out to experienced lotion bar makers or online communities for guidance and troubleshooting tips
Step-by-Step Guide: How to Use the Lotion Bar Effectively
- Begin by warming the lotion bar between your hands by rubbing it gently. This will help soften it and make it easier to apply to your skin
- Once the bar has softened, apply it directly onto desired areas of your body. You can rub it directly onto your skin or use your hands to transfer the lotion from the bar to your skin
- Massage the lotion into your skin using circular motions. Take your time to ensure the lotion is evenly distributed and absorbed
- Allow the lotion to fully absorb into your skin before getting dressed. This may take a few minutes, depending on the temperature of your skin and the climate
- After each use, store the lotion bar in a cool, dry place to prevent melting and extend its shelf life
Frequently Asked Questions About Our Lotion Bars: Your Complete Guide to Caring for Your Skin
Can children use lotion bars?
Yes, children can use lotion bars. Lotion bars are a gentle and effective way to moisturize and protect children’s skin. They are easy to use and provide hydration without any mess. Just ensure that the lotion bar is made from natural and safe ingredients suitable for children’s delicate skin. Always supervise children during application to prevent any accidental ingestion.
Can I make my own lotion bars at home?
Yes, you can definitely make your own lotion bars at home. Making lotion bars can be a fun and rewarding DIY project. All you need are a few simple ingredients like beeswax, carrier oils (such as coconut oil or jojoba oil), and essential oils for fragrance. By following a trusted recipe and using high-quality ingredients, you can create personalized lotion bars that cater to your specific skin needs. Homemade lotion bars can be a natural alternative to store-bought products, allowing you to control the ingredients and customize them according to your preferences. Remember to do thorough research, follow a reliable recipe, and take appropriate safety precautions when making your own lotion bars at home. Enjoy making your personalized lotion bars and taking care of your skin!
What are the benefits of using a lotion bar?
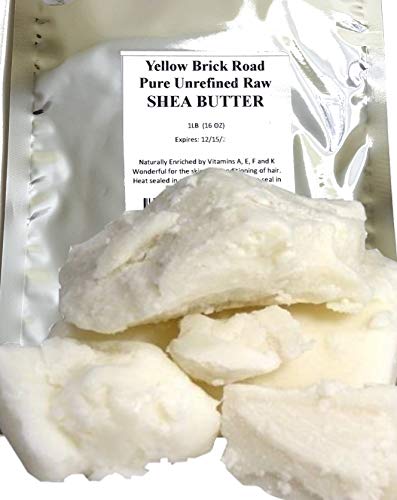
Using a lotion bar offers several benefits for your skin. Firstly, it provides deep and long-lasting moisturization, leaving your skin feeling soft and supple. The formulation of a lotion bar typically includes nourishing ingredients like shea butter, cocoa butter, and essential oils, which help to hydrate and replenish your skin’s natural moisture barrier.
Additionally, lotion bars are convenient and easy to use. Their solid form makes them portable and spill-free, making them a great travel companion. You can simply glide the bar over your skin and let it melt upon contact, allowing you to apply the desired amount without any mess.
Furthermore, lotion bars are often made with natural and organic ingredients, which can be gentler and less irritating compared to conventional lotions. They are free from artificial fragrances, dyes, and preservatives, making them suitable for those with sensitive skin or allergies.
Lastly, using a lotion bar contributes to reducing plastic waste since it typically comes in a recyclable or reusable packaging. By opting for a lotion bar, you can make a positive impact on both your skin and the environment.
Remember to patch test any new skincare product before using it extensively and consult with a dermatologist if you have any specific skin concerns or conditions. Take care of your skin and enjoy the benefits of using a lotion bar!
10 comments
I had some trouble removing the lotion bars from the molds. They seemed to stick and break apart. Any tips on how to prevent this from happening?
I’ve tried using different carrier oils like coconut oil and jojoba oil, and they both worked well in my lotion bar recipe. I found that coconut oil gives the bar a more solid texture, while jojoba oil makes it softer and more creamy. It’s great to have options depending on personal preference!
I love using lotion bars, especially during the winter when my skin gets really dry. One suggestion I have is to store the bars in a tin or airtight container to prevent them from drying out. It helps to keep them fresh and prolong their shelf life.
That’s a fantastic suggestion! Storing lotion bars in a tin or airtight container is a great way to maintain their moisture and prevent them from drying out. Thanks for sharing this tip!
I followed this guide and made my first lotion bars yesterday. They turned out amazing! The texture is so smooth and they smell heavenly. I can’t wait to use them and see how they moisturize my skin. Thank you for the clear and easy-to-follow instructions!
You’re very welcome! I’m thrilled to hear that your lotion bars turned out amazing and that you’re happy with the results. Enjoy using them and the wonderful benefits they provide to your skin!
I’ve been making lotion bars for a while now and one tip I have is to add some vitamin E oil to the mixture. It not only provides additional nourishment for the skin but also acts as a natural preservative, extending the shelf life of the lotion bars.
That’s a great tip! Vitamin E oil is indeed a wonderful addition to lotion bars for its skin benefits and preservation properties. Thanks for sharing!
Thanks for sharing your variations! It’s always interesting to see how different carrier oils can affect the texture of lotion bars. I’m glad you found success with both coconut oil and jojoba oil.
I have a question about the melting step. Is it better to melt the beeswax and carrier oils in a microwave or on the stove? Are there any specific temperature guidelines to follow?